The Ultimate Island Peak Climbing Guide: Permits, Preparation, and the Deadly Headwall
I have stood on the summit of Island Peak more than twenty times. I have led teams of first-time Himalayan climbers up that final headwall in pre-dawn darkness, watched them clip their Jumars onto fixed ropes with shaking hands, and seen the same transformation play out at 6,000 metres that never grows old. The mountain does not care how many articles you have read about it. What it cares about is whether you prepared honestly for what it asks.
This guide covers what most Island Peak articles skip. The 60-degree ice headwall in real, physical terms. A complete permit breakdown so you arrive in Kathmandu knowing exactly what you need. And a proper 18-day acclimatisation schedule built around the approach my team runs through the Khumbu every spring and autumn. If you want to understand what Island Peak genuinely demands and how to meet those demands properly, this is the guide to read.
You can find the full expedition overview at the Island Peak and Heli Exit expedition page.
What Is Island Peak? The Honest Overview
Island Peak, known locally as Imja Tse, sits at 6,189 meters in the heart of the Khumbu, flanked by Lhotse and Ama Dablam. Eric Shipton’s 1953 Everest reconnaissance team gave it its English name after looking at it from Dingboche and seeing it rise like a lone island from a frozen sea.
The Nepal Mountaineering Association classifies it as a trekking peak. That classification misleads more people than it helps. Island Peak involves glacier travel, crevasse navigation, fixed rope ascending, and a steep headwall that demands confident crampon work at genuine altitude. It sits at a Moderate to Difficult grade for mountaineering. If you approach it like a trekking objective, you will be turned around or in trouble. If you approach it as the technical climb it is, with the right preparation and leadership, you have a real shot at a summit that rewards the work with one of the most extraordinary views in the Himalaya.
The Headwall: What It Actually Feels Like
This is the section most climbing guides soften or avoid entirely. I will not.
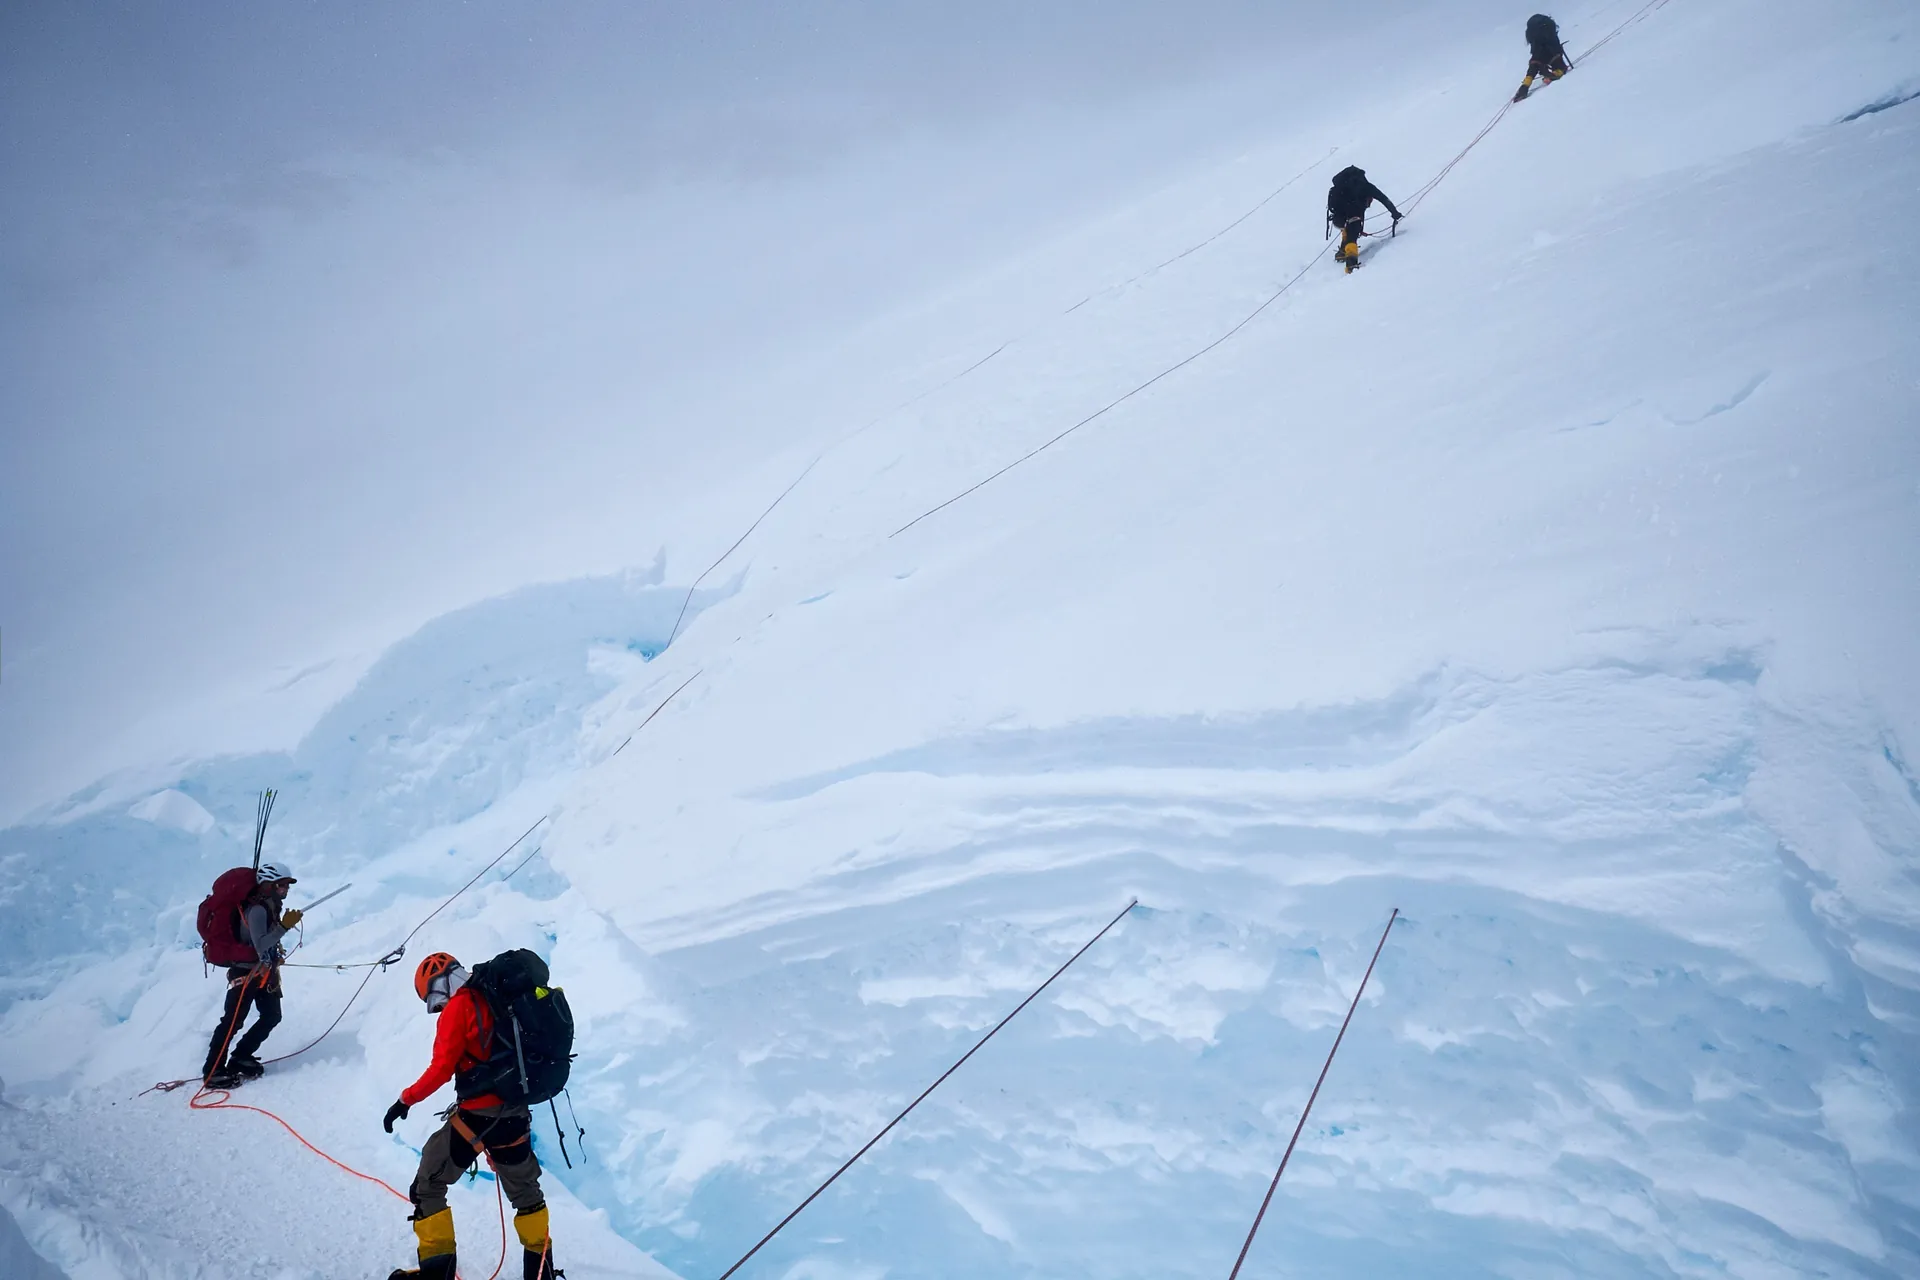
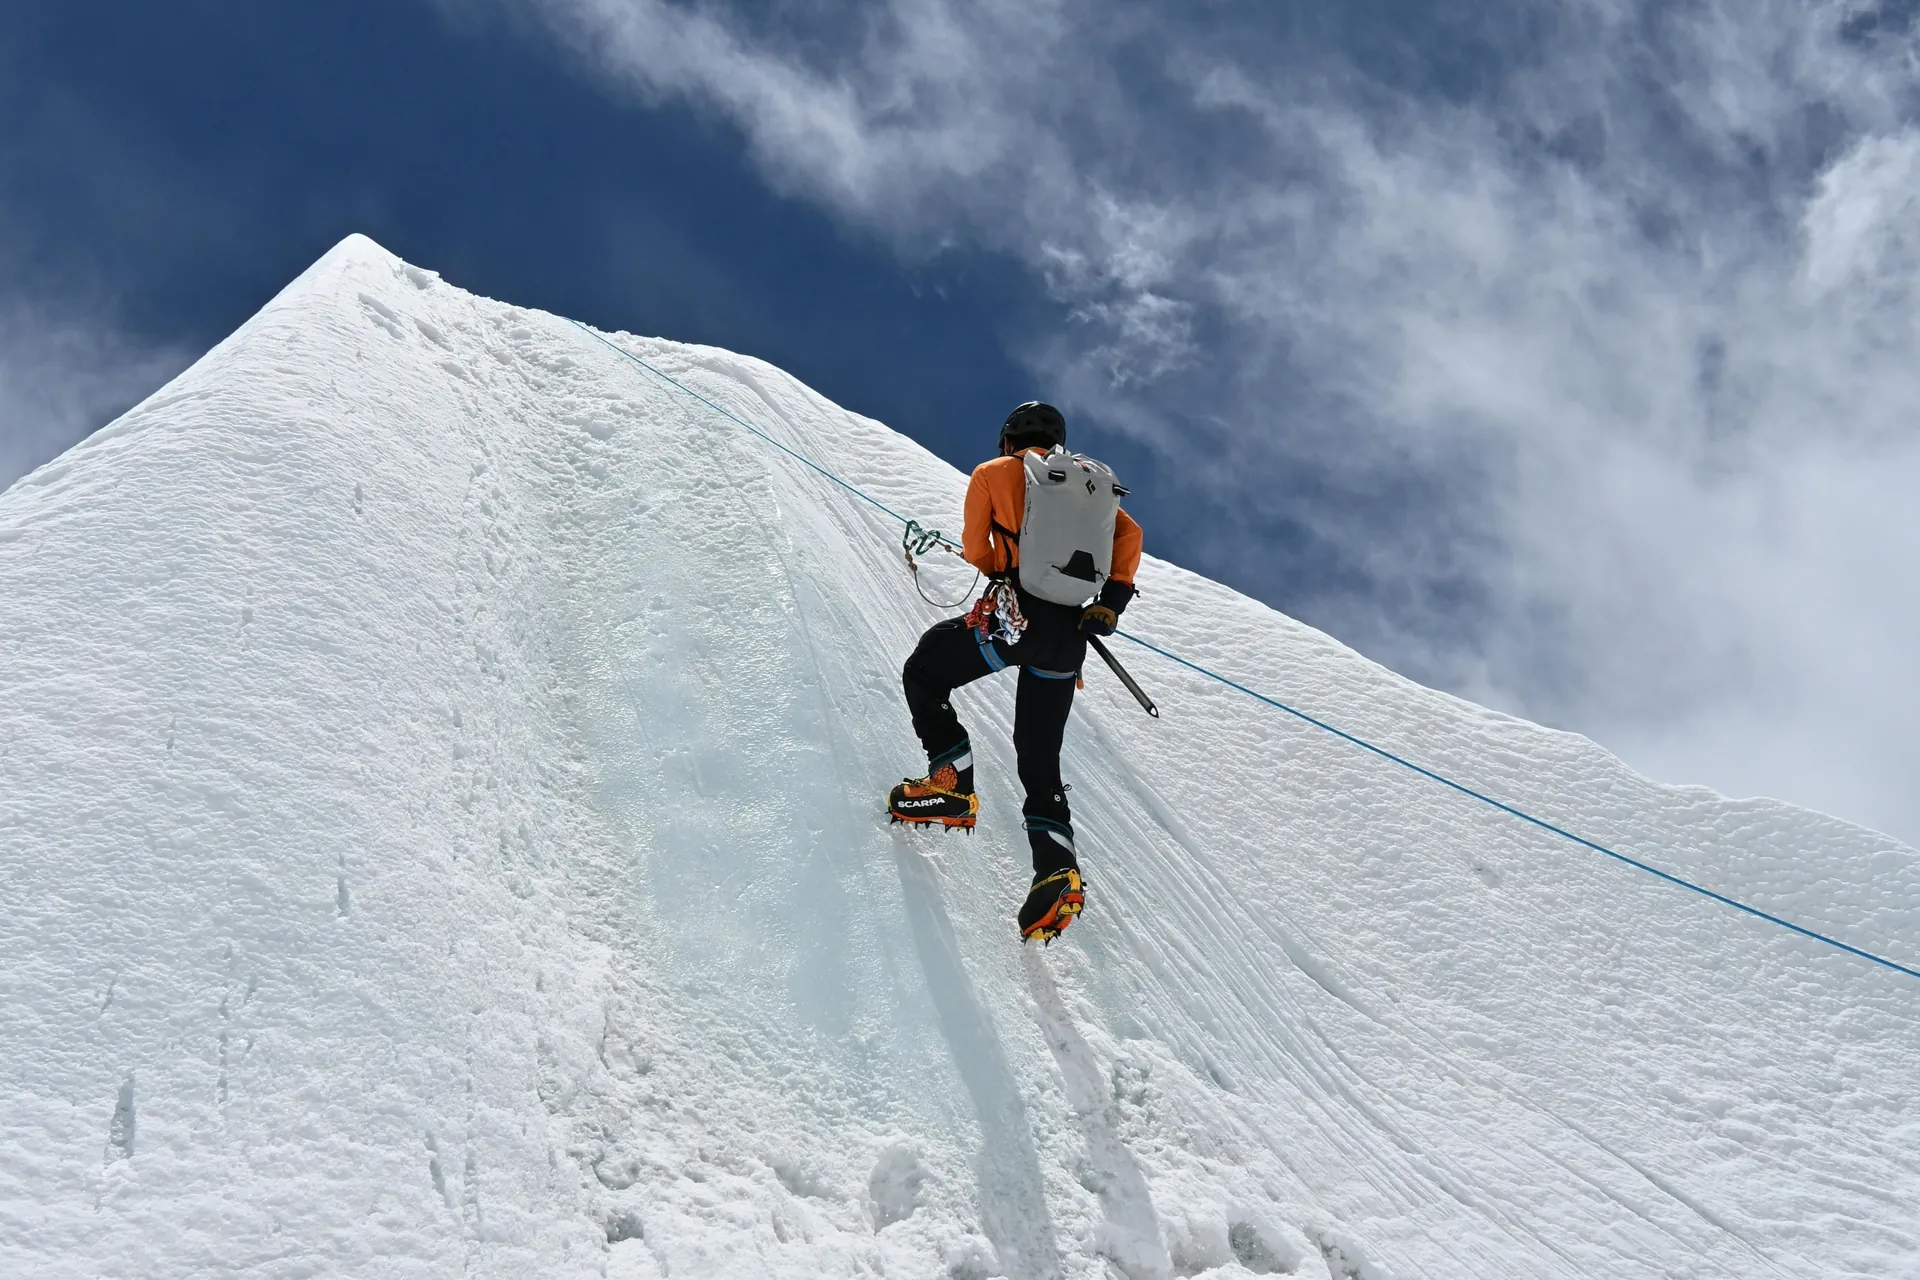
The headwall on Island Peak sits between roughly 5,700 and 5,950 meters. The angle holds between 50 and 60 degrees depending on conditions and the season’s accumulated snowfall. It is fixed with ropes by the first expedition teams of each season, typically maintained across the spring window and refixed for autumn. Those ropes vary in condition depending on how many teams have been through before you. Part of your job as a climber is knowing how to assess what you are clipping into.
Here is what using a Jumar on that headwall actually feels like at altitude.
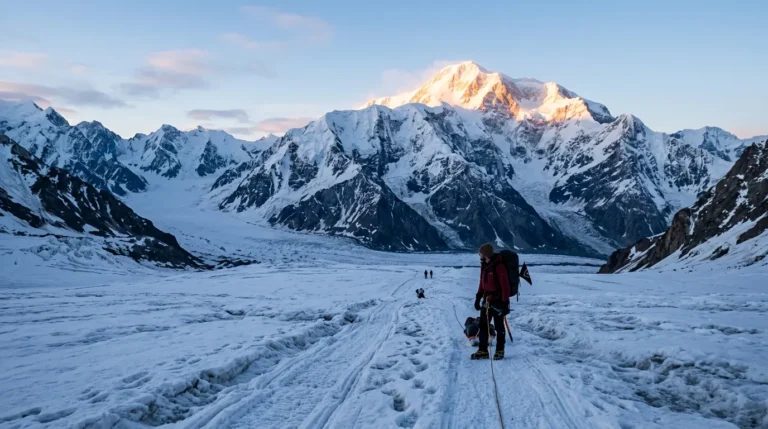
You left High Camp in darkness, probably around midnight or one in the morning. Your legs carry the weight of the glacier approach below. By the time you reach the base of the headwall, the sky is turning pale behind Lhotse, and the temperature is sitting somewhere between minus fifteen and minus twenty-five degrees Celsius, depending on the season and the wind. Your gloves are on. Your goggles are fogged at the edges. Your breathing is deliberate and controlled because the air at 5,800 meters gives you roughly sixty percent of the oxygen available at sea level.
You clip your Jumar onto the fixed rope. The device bites the rope cleanly going up and locks when you weigh it. You push it up with your strong hand, weigh it, step up with your front crampon points, breathe, and repeat. The movement is mechanical. Rhythm is everything. If you lose your rhythm, your breathing falls apart, and your legs stop working properly. The two are inseparable at this altitude.
The front points of your crampons are your foundation on that slope. They need to be placed deliberately, not kicked in hard. The temptation on a steep headwall is to attack the ice aggressively. That burns the calves, wastes oxygen, and costs you the summit. The technique that works is a controlled two-point placement followed by a full weight transfer before the next move. You are not fighting the mountain at this point. You are cooperating with it.
Halfway up the headwall your forearms will be pumping. That is entirely normal. You shake them out one at a time while you breathe. You do not look down unless you need to. You look at the rope above you and the next placement.
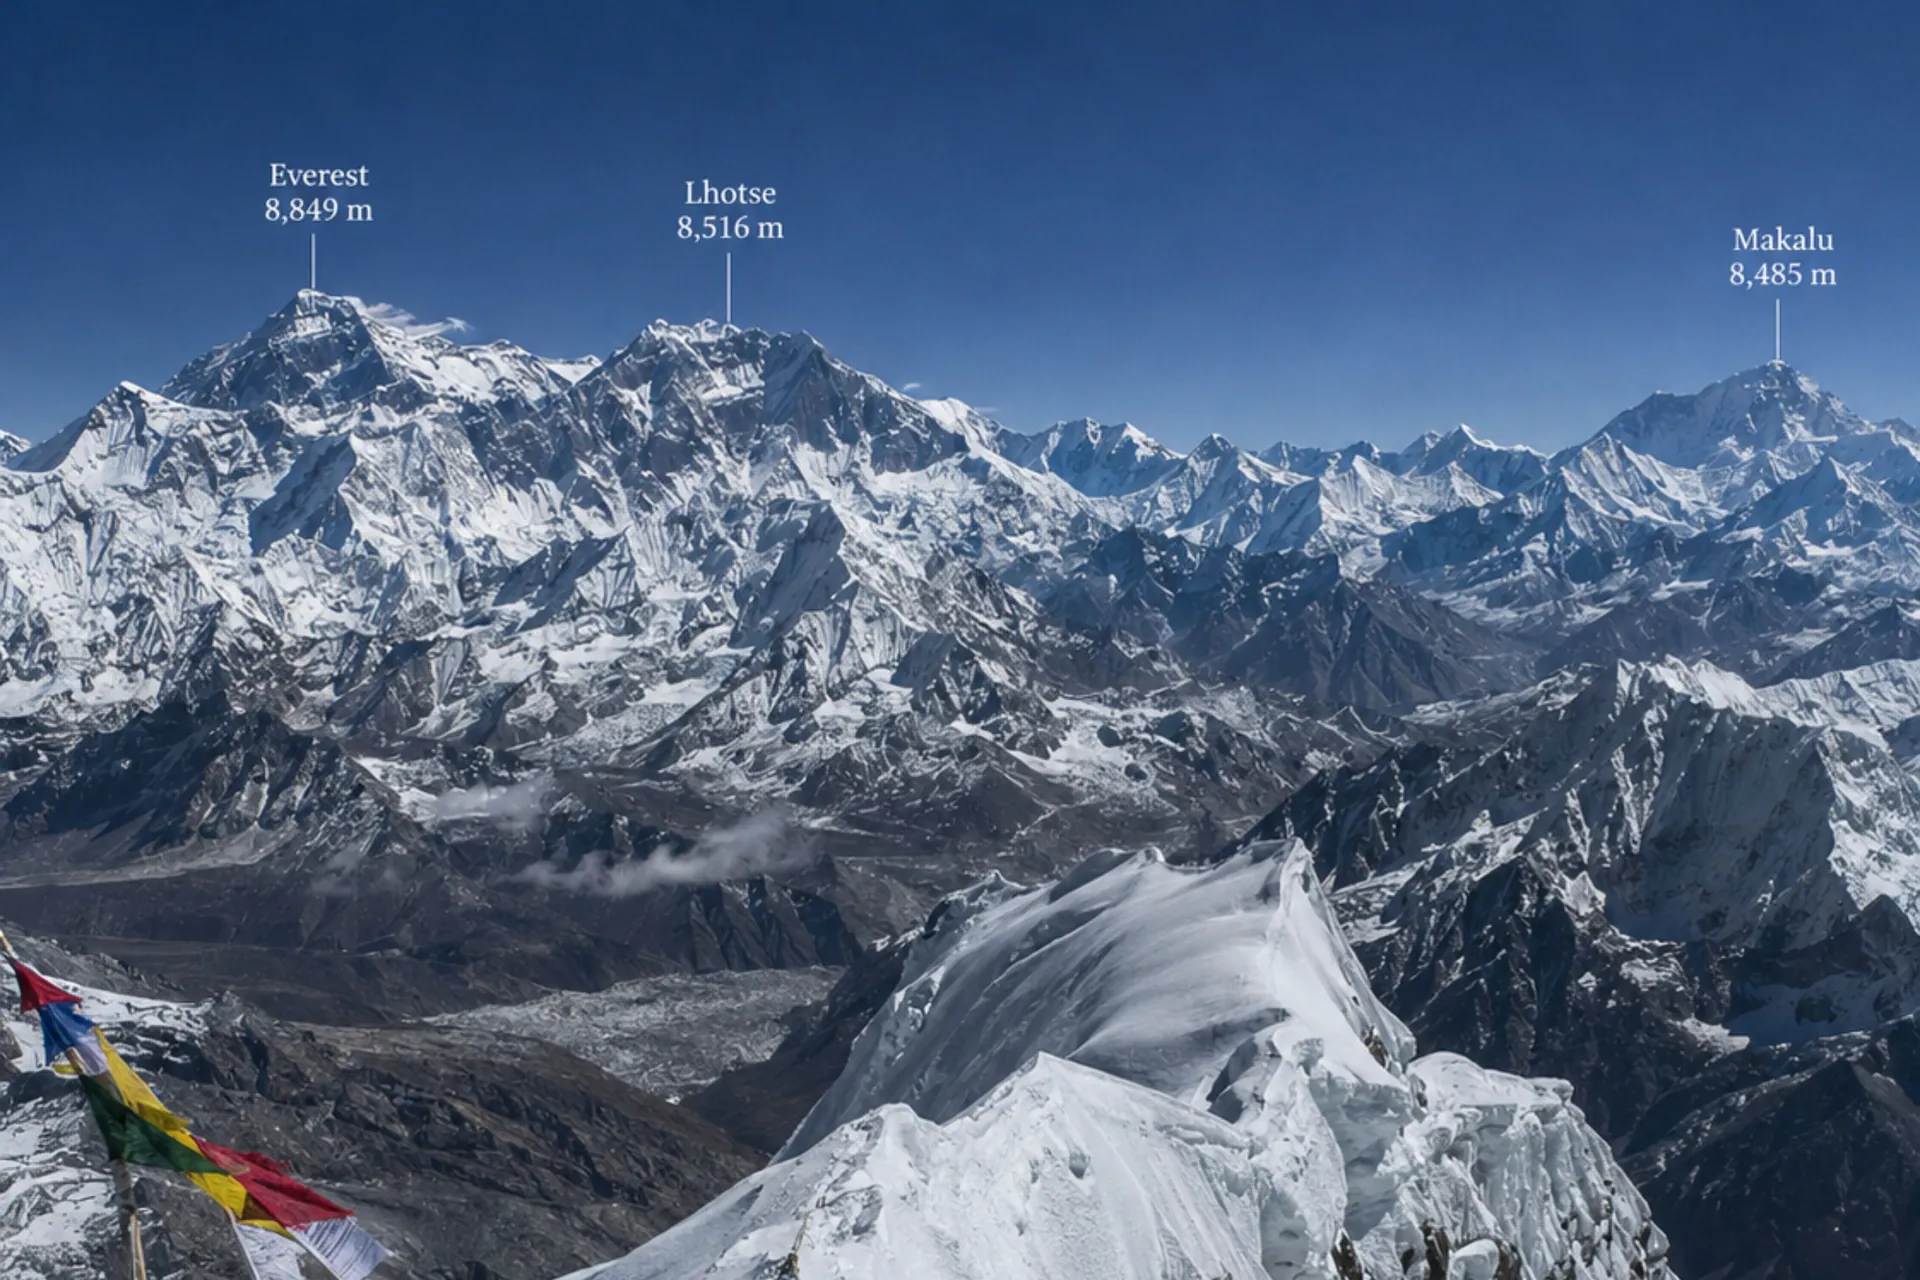
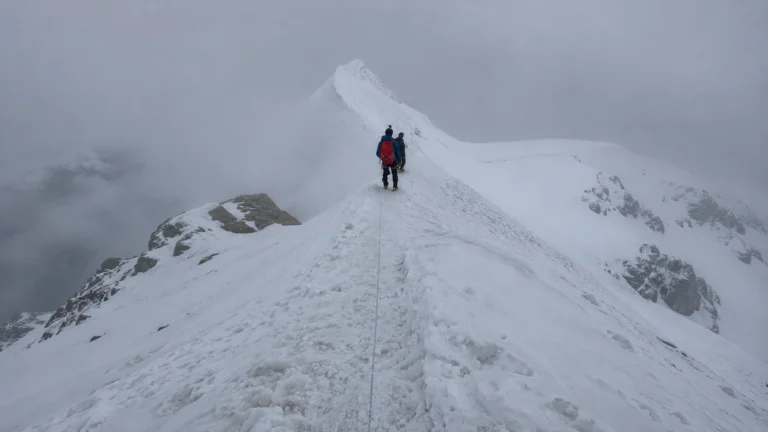
The headwall tops out on a snow ridge that narrows dramatically in some conditions. Beyond it, the summit plateau opens up, and Lhotse, Makalu, Everest, and the full Khumbu panorama fill every direction. What you feel in that moment is not relief. It is the specific quiet of having done something that actually required something from you.
We cover Jumar technique and fixed-rope movement during our skills training days at Dingboche. Nobody goes onto the headwall without having practiced the movement first at a lower altitude where mistakes have consequences you can recover from. You can find the full training requirements on the expedition page.
Island Peak Permits: What You Need and When
Nepal Mountaineering Association Climbing Permit
The NMA issues the Island Peak climbing permit. The fee varies by season, with spring running March to May and autumn running late September to November. These are the official fees set by the NMA and are paid in full before the expedition departs from Kathmandu. On expeditions with our team, your climbing permit is fully arranged and included. Upon a successful ascent, you receive the official NMA Island Peak Summit Certificate.
Sagarmatha National Park Entry Permit
Every climber entering the Everest region pays a Sagarmatha National Park permit fee. This grants you access to the park that encompasses the entire Khumbu Valley and the approaches to Island Peak. This permit is included in a fully supported expedition package.
TIMS Card
The Trekkers’ Information Management System card is required for all foreign trekkers in Nepal. It is a standard requirement across the Himalayan trekking and expedition network and is organized as part of your expedition logistics.
Nepal Entry Visa
You obtain your Nepal visa on arrival at Kathmandu’s Tribhuvan International Airport. Most Island Peak climbers use the standard 30-day visa. This is a government visa paid directly to Nepalese immigration and is not included in any expedition package.
Tipping and Gratuities
This is the area most expedition guides handle vaguely. I will be direct.
Porter gratuities are not optional in any ethical sense. The porters who carry equipment into the Khumbu are integral to the expedition, and their income depends on fair recognition at the end of the trek. The recommended amount is widely understood within the industry and is communicated clearly to all participants before departure.
The Climbing Sherpa summit bonus is also standard practice and paid following a successful ascent. The Sherpa teams who guide you on the technical sections train year-round, work in serious conditions, and have earned this recognition before the expedition even departs. You can read in full about how we approach Sherpa welfare in the Black Mountaineering Ethical Expedition Standard and the Porter Employment Policy.
The 18-Day Acclimatisation Itinerary
The standard 14-day Island Peak itinerary works well for most climbers when physical preparation has been completed properly. But if you want the most robust acclimatization, schedule available, particularly if you have experienced altitude problems before, an 18-day structure gives you a significantly stronger platform.
Here is how I structure it:
Day 1: Arrive Kathmandu (1,400m). Team briefing, permit collection, and gear check. Rest.
Day 2: Kathmandu. Equipment check, final briefing, and team dinner.
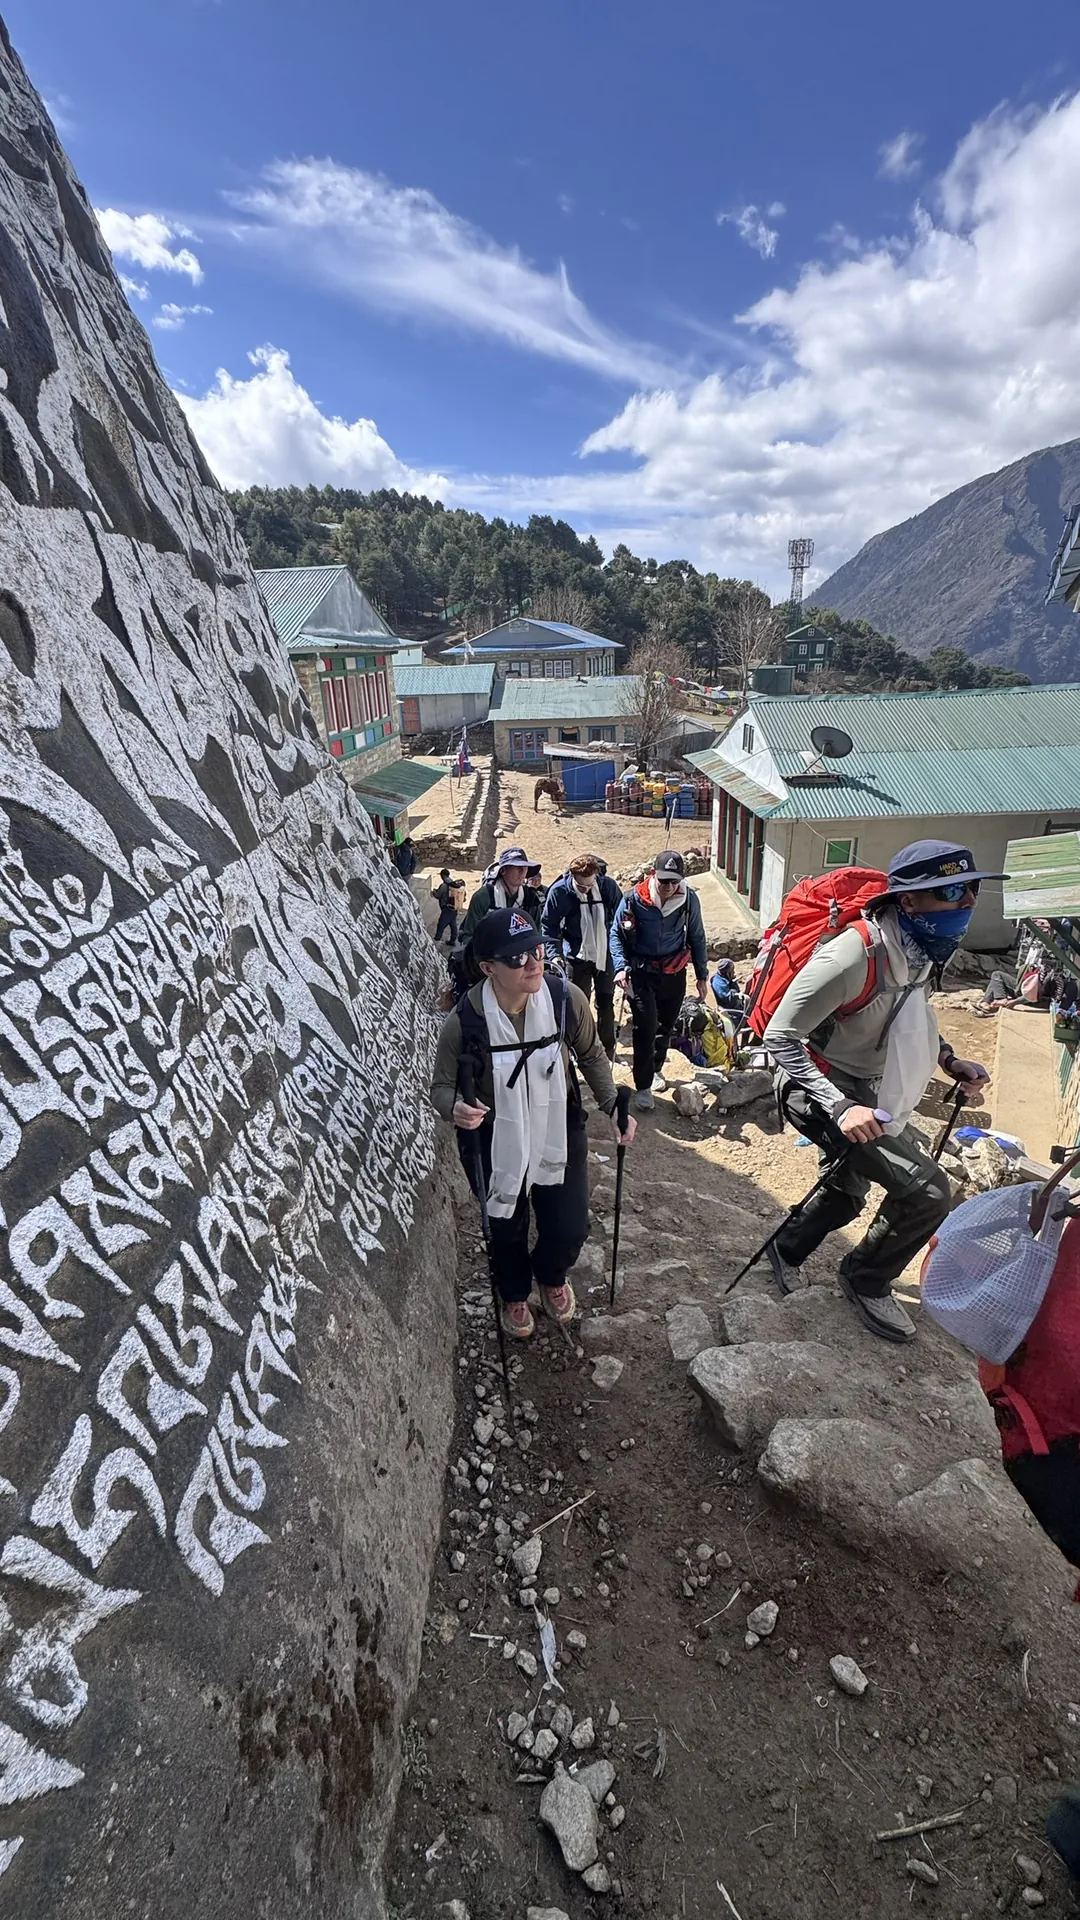
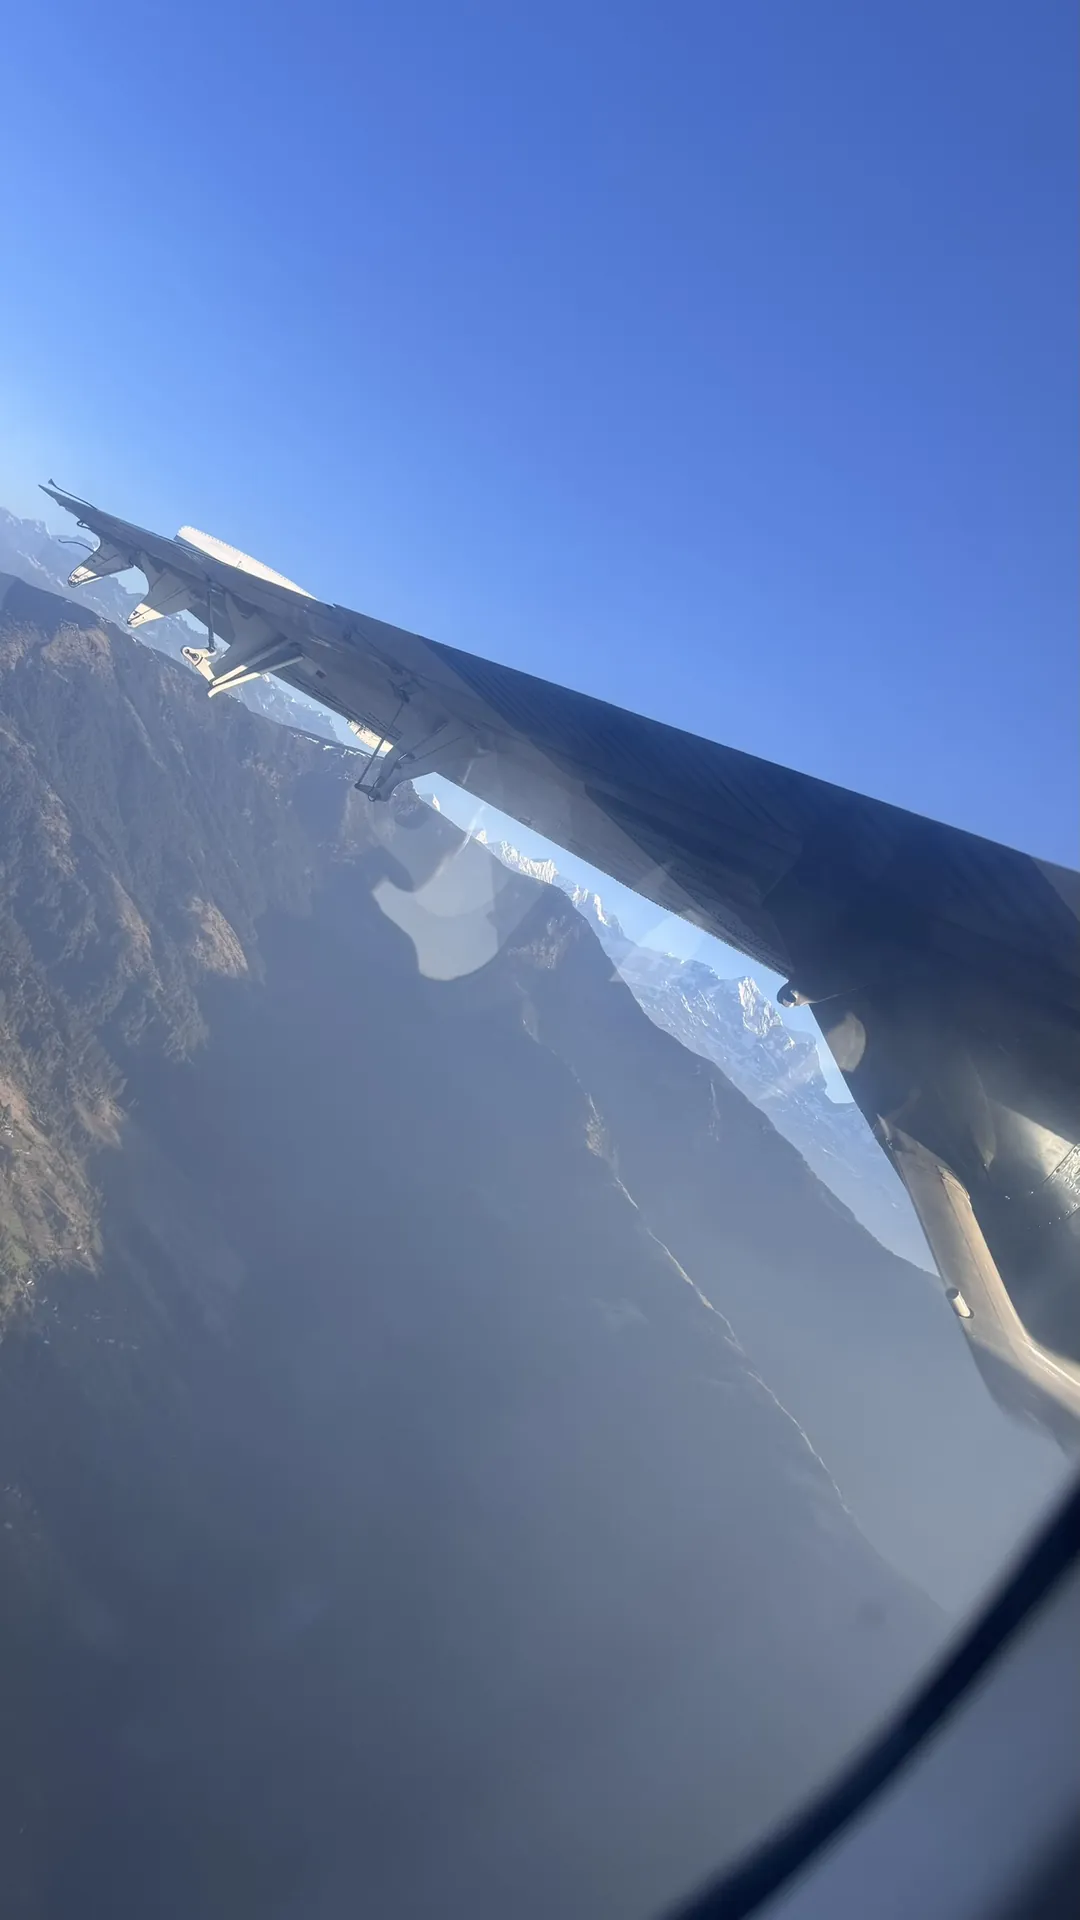
Day 3: Fly Kathmandu to Lukla (2,860m) via Ramechhap Airport. Trek to Phakding (2,610m). Approximately 3 hours. Easy gradient. The body starts adjusting from the moment you land.
Day 4: Trek Phakding to Namche Bazaar (3,440m). 5 to 6 hours. The final climb to Namche is steep and long. Breathe through it, not against it.
Day 5: Acclimatization day in Namche. We hike high, 300 to 400 meters above the town, then return to sleep at 3,440 m. This follows the proven climb-high-sleep-low protocol that underpins every day of this itinerary.
Day 6: Namche rest and additional acclimatization. Optional afternoon hike to Hotel Everest View at 3,962m and back. The extra altitude exposure without the commitment of a full day’s trekking pays forward on summit day.
Day 7: Trek Namche to Tengboche (3,860m). 4 to 5 hours. The trail passes through rhododendron forest and delivers sustained views of Ama Dablam and Everest that stop most people mid-stride.
Day 8: Trek Tengboche to Dingboche (4,410m). 5 to 6 hours. The air is noticeably different now. Pace slows by necessity. Eat before you feel hungry. Hydrate before you feel thirsty. These are not suggestions at altitude. They are operational standards.
Day 9: Acclimatization day in Dingboche. Full mountaineering skills training covering harness fitting, crampon technique, ice axe self-arrest, Jumar use on a fixed rope, and descending with a figure-eight device. This is where the technical foundation is built. It matters enormously for what comes above 5,500 meters.
Day 10: Additional acclimatisation hike above Dingboche to approximately 5,100 metres. This is the extended day that most standard 14-day itineraries skip. It pre-acclimates you to the exact altitude of Base Camp and pays real dividends on summit day when your body recognizes the altitude instead of encountering it for the first time.
Day 11: Trek Dingboche to Chhukung (4,730m). Short day by design. The body needs the rhythm of movement without the demand of significant altitude gain.
Day 12: Chhukung acclimatization day. Rest, additional skills review, and final gear organization. The south face of Lhotse fills the view from here. It is a good reminder of the direction this progression moves if you want to continue beyond Island Peak.
Day 13: Trek to Island Peak Base Camp (5,100m). 3 to 4 hours over moraine and glacial terrain. Final camp briefing from the guide team. Equipment laid out and checked. Early sleep.
Day 14: Summit day. Pre-dawn start, typically between 1am and 2am. Glacier approach, headwall, summit ridge, 6,189 m. Descent to Base Camp. This is the day everything builds toward. Plan for 12 to 14 hours from first movement to return.
Day 15: Rest at Base Camp. Recovery, team debrief, packing.
Day 16: Private helicopter from Island Peak Base Camp to Lukla. Twenty minutes over the Khumbu Glacier. Direct transfer to Lukla Airport for the flight back to Kathmandu.
Day 17: Rest in Kathmandu. Expedition dinner. Summit certificates collected from the NMA.
Day 18: Departure home.
The helicopter exit eliminates four days of physical descent trekking on legs and knees that have already given their full effort. It also closes the expedition within a window achievable on standard annual leave. The heli exit is part of every Island Peak and Heli Exit expedition we run.
Why Acclimatization Decides Your Summit, Not Fitness
I have watched extremely fit people fail on Island Peak and watched people of modest fitness stand on the summit. The difference almost always comes down to acclimatization. No supplement, no breathing device, and no level of cardiovascular fitness replaces the physiological process of altitude adaptation. The body needs time to increase red blood cells production, improve oxygen-carrying capacity, and adjust its respiratory function to the reduced pressure at altitude.
The key markers to monitor during acclimatization are sleep quality, urine color, appetite, and resting heart rate. Dark urine means inadequate hydration. Poor sleep above 4,000 meters is normal. Loss of appetite at altitude is universal. A resting heart rate that climbs consistently and fails to recover is a signal worth taking seriously.
Diamox (acetazolamide) can support the acclimatization process, and I advise all participants to discuss it with their GP before departure. It supports the process. It does not replace the itinerary structure above.
Safety Standards on Island Peak
Before every expedition we run a full gear check in Kathmandu and a skills training session at Dingboche. No climber moves onto technical terrain without demonstrated competence in crampon placement, Jumar use, and ice axe carry position.
We carry emergency oxygen at Base Camp and on the climb. Every expedition includes a high-altitude medic and emergency first responder. We run a 2:1 elite Sherpa-to-client ratio on the technical sections. Emergency satellite communication is active throughout the expedition.
The guide-to-client ratio and the medical coverage are what separate a supported technical expedition from a guided trek with technical elements. They are not the same thing. If you are evaluating operators, ask specifically about the Sherpa ratio, medical support, oxygen availability at Base Camp, and what the turnaround protocol is under altitude-stress conditions.
You can read our full safety philosophy through the Black Mountaineering Crisis Management Plan and the Ethical Expedition Standard.
Island Peak as a Foundation
Island Peak sits in the middle of a progression that makes sense for anyone serious about Himalayan mountaineering. The technical skills it builds, and the altitude experience it delivers, translate directly into readiness for the next level.
The natural progression from Island Peak moves toward increasingly technical and higher objectives within the Himalayan range. If your aim is to continue building toward 7,000 and 8,000-meter peaks, Island Peak gives you the crampon confidence, the fixed-rope experience, and the high-altitude physiological baseline that all of those objectives will ask you to prove on arrival.
Key Gear Checklist
You can download the complete official Island Peak kit list from the expedition page. These are the non-negotiables:
Technical gear (rental available in Dingboche, arranged in advance by our team):
high-altitude mountaineering boots rated to minus 40 degrees, crampons with front points, ice axe, climbing harness, Jumar ascender, belay device, locking and non-locking carabiners, and Y-rig.
Layering system:
Merino wool base layers, an insulating mid-layer, an 800-gram minimum down jacket with a hood, and a hard shell jacket and pants rated for wind and precipitation.
Summit day essentials:
Category 4 glacier glasses, ski goggles as backup, balaclava, expedition mitts over liner gloves, headlamp with fresh batteries, Diamox and personal first aid kit, two litres of fluid minimum from Base Camp.
Sleeping system:
Minus a 20-degree sleeping bag. We supply individual tents at Base Camp.
Download the full kit list directly from the Island Peak expedition page.
For gear sourced locally in Ireland, our Black Mountaineering shop stocks selected expedition essentials, including expedition duffel bags, merino wool neck buffs, and woollen beanie hats.
The Summit Leaves Something Behind
The last thing I want to say about Island Peak is this.
You will not stand on that summit and feel the same as you felt at the trailhead in Lukla. The mountain changes the frame through which you understand your own capacity. That is not a promise made for effect. I have watched it happen to more than twenty groups on this mountain over twenty-five years of expedition leadership, and it is the same every time.
The cold on the headwall, the weight on the rope, the precise moment your Jumar locks and you shift your full bodyweight onto a fixed line above a 400-meter drop: these are not metaphors. They are physical experiences that recalibrate something at a level that lasts long after you have landed back in Kathmandu.
That is what the mountain gives you, and why the preparation matters as much as the summit itself.